

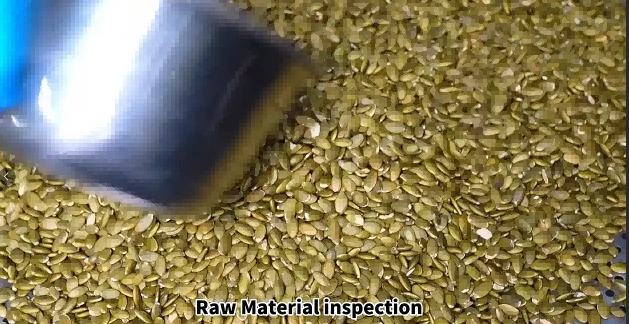
1. Raw Material Sourcing and Inspection
Supplier Selection: Pick suppliers with all the proper qualifications. They've got to provide quality test reports for the raw materials to make sure everything meets safety standards.
Procurement Planning: Work out the buying plan based on orders and stock levels. Make sure we know exactly how much to get, what specs we need, and when it should arrive.
Inspection: Quality checkers take a look at the pumpkin seeds (checking they're plump and not mouldy), green grape dried fruits (colour and additives), sugars (purity), and cooking oil (acid value etc.). Only the stuff that passes gets stored in the warehouse.
2. Raw Material Preparation
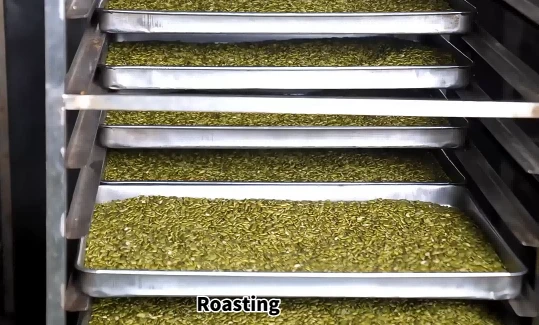
Pumpkin Seeds: Give them a good wash to get rid of dirt, then roast at 150°C for 15-20 minutes until they're slightly golden and smell lovely. Let them cool down before using.
Green Grapes: For dried green grapes, pick out the bad bits, rinse them, dry them off, then chop into small pieces. For green grape concentrate, check its strength and sweetness, then pop it in a sealed container for storage.
3. Sugar Boiling Step
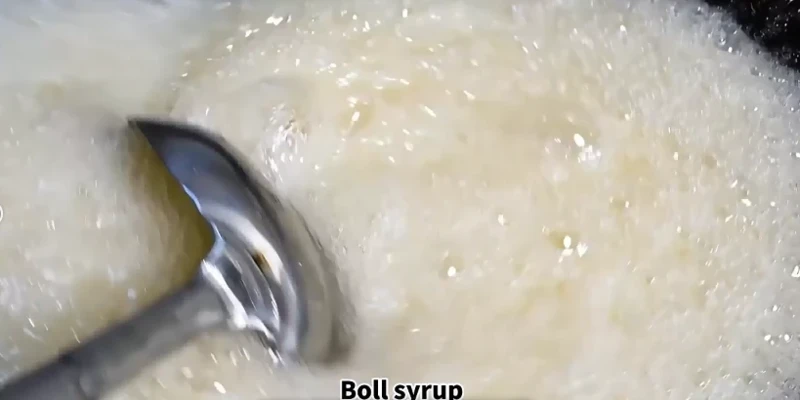
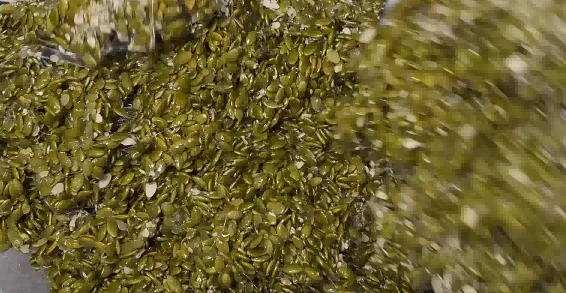
Weigh out the white sugar, maltose, and water according to the recipe. Chuck them into the sugar boiler, heat on a low flame, and stir until they dissolve. Turn up the heat to 140-150°C to thicken the syrup, then take it off the heat and keep it warm.
4. Mixing Step
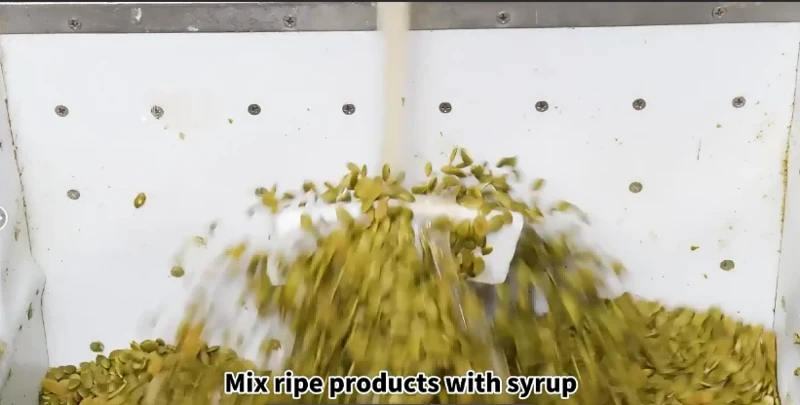
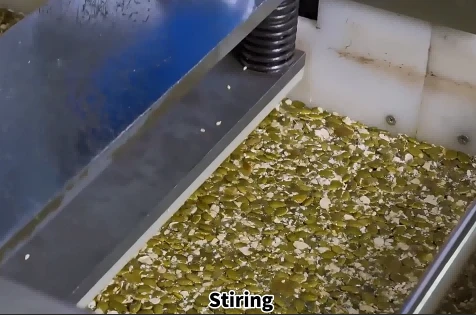
Quickly tip the roasted pumpkin seeds and dried green grapes (or concentrate) into the boiled syrup. Stir really fast so all the ingredients get evenly coated with syrup. Make sure nothing separates and the colour looks consistent.
5. Shaping Step
Grease the moulds or line them with non-stick paper. Pour the mixed stuff in while it's still hot, then use a tool to press it down so it fits the mould properly – no gaps or spills, please.
Pop the moulds in a well-ventilated area and let them cool naturally for a few hours until they set. If we need to speed things up, we can use fans or air conditioning to cool them quicker.
6. Unmoulding and Cutting
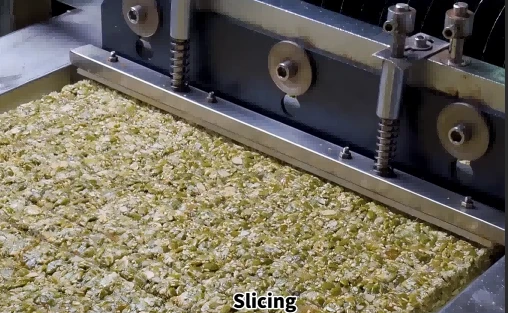
Once cooled, take the brittle out of the moulds. Use a sharp knife to cut it into pieces according to the packaging size. Make sure they're all the same size with neat edges.
7. Packaging Step
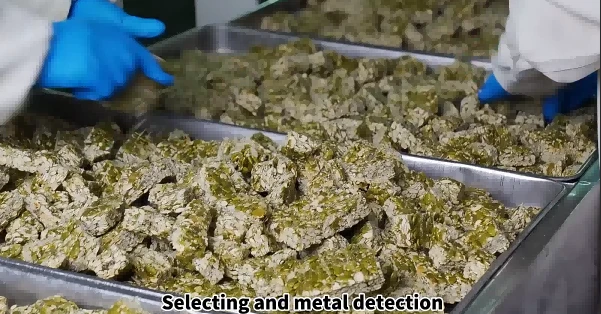
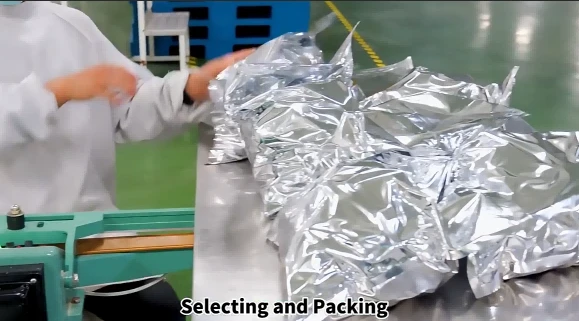
Use moisture-proof and oxidation-resistant packaging materials. Either pack them into bags or boxes automatically or by hand. Get rid of any faulty ones, then seal them up. The packaging needs to have all the necessary info – product details, dates, ingredients, that sort of thing.
8. Quality Testing
Appearance Check: Have a look at the packaging to make sure it's not damaged, the labels are clear, and the brittle looks good – right colour, no bits of dirt in it.
Taste Test: Get the pros to have a nibble. They'll check how crispy it is, if the sweetness is just right, and if the green grape and pumpkin seed flavours go well together.
Physical, Chemical & Microbial Tests: Check things like moisture, sugar, and fat levels, plus colony counts. Only the batches that pass all these get the go-ahead to go into the warehouse.
9. Storage Management
Store things in different sections of the warehouse. Stack the qualified products by batch and keep records. Keep an eye on the temperature (15-25°C) and humidity (40%-60%).